


How To Use TeamCity?
In the first part of this article, we have briefly summarized how to get TeamCity, the licencing procedure and the features. Covering the theoretical information, we will be explaining how to use TeamCity in this part. Let us start with the first step, which is to look at the console screen and then the TeamCity screen we will work on.
As mentioned earlier, we think the best method for test drive is Docker. The official repo, you can reach via here, is open to use and developed by Jetbrain. In our example, we will use Linux distribution based TeamCity. Repo size is 1GB in Linux. Windows repo size is 6GB.
Let’s create our folders for “file sharing”, where we will communicate with the container(s) on our local computer. We will use folders as in the following paths:
C:\teamcity-docker\data
C:\teamcity-docker\logs
Project settings and build results will be preserved in the Data folder. If we do not map the relevant folder in the container with this folder, the next time we open the container, all settings will be reset, which is a situation we never want to face. We will keep the logs of the processes with the Logs folder. You do not have to make this setting. But if you do not do it, there will be difficulty in detecting problems when something is wrong.
So, let’s start downloading the repo:

docker pull jetbrains/teamcity-server:latest
After the download is completed successfully, let’s start the container with the following command:
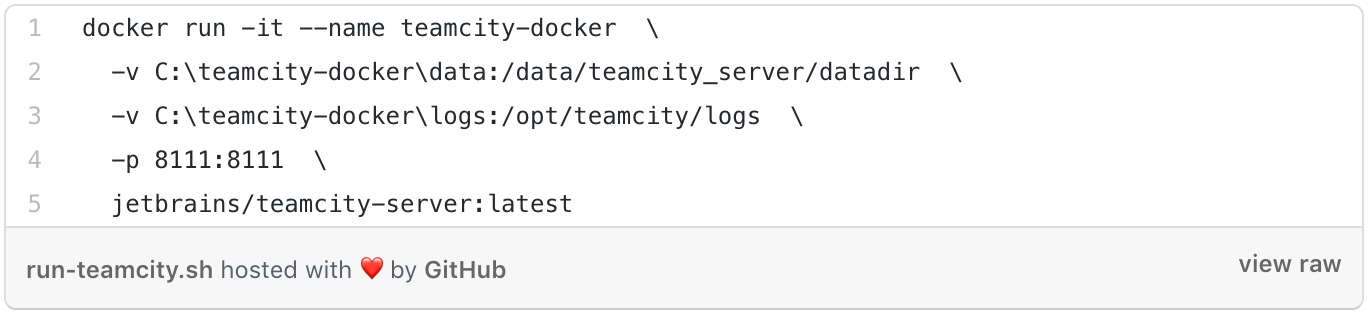
The folder paths you provide for Data and Logs volume mapping must match exactly with the ones in your local computer.
If the container has started smoothly, you can go to http: // localhost: 811 and sit back and monitor the installation.
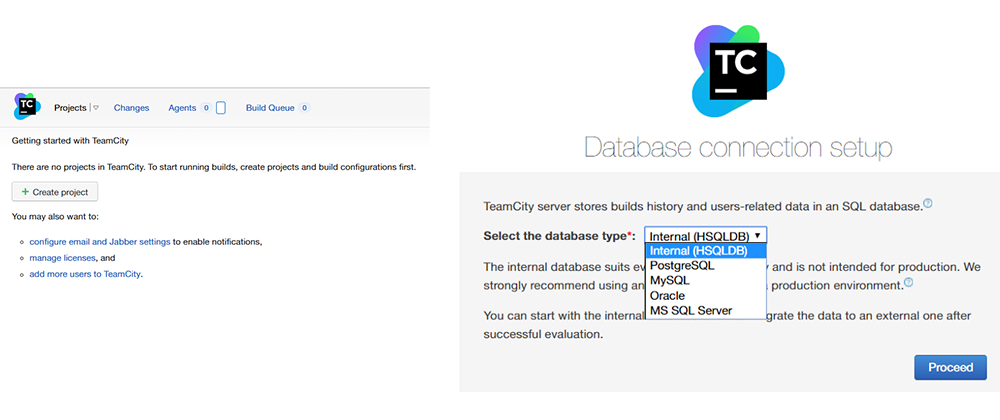
After the standby screens (i.e. Please wait, Settings are being made), you will see the database setting screen (1st image). You can leave internal selected here, but if you are going to use TeamCity in the production environment, we recommend choosing an external database. Internal database is kept in the Data folder.
In the next step, you will need to create an administrator account. It will be sufficient to create a secure account.
After all the steps are completed, you will see the screen in the 2nd image. This means that, TeamCity is ready to use! You can now create a project and go on your way. If you have patiently followed the steps so far, you now have a TeamCity Server.
